
Contributed by Ella Christenson-Sullins, 9 to 5 Pets
As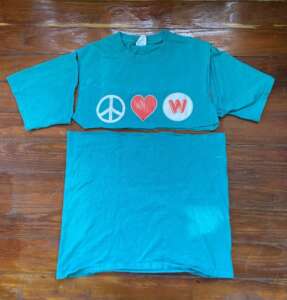 the school season starts back up, odds are parents, caretakers, and students alike have outgrown or played out clothing taking up valuable space in the closet. To make room for new school year clothing, you could follow these no-sew dog and cat toy DIYs that are so simple the kiddos could even lend a helping hand! These toys are also easily cleaned by simply tossing them in the washing machine, and if you’ve got a pup or a crazy cat who loves to chew up her toys like my beloved toy-testers Nala and Jack, there’s no worries if she rips these apart– they’re just old t-shirts and can easily be duplicated with another old shirt! Nothing beats back-to-school blues like some quality time with your beloved fur babies, so grab those old shirts from your closet and get to playing.
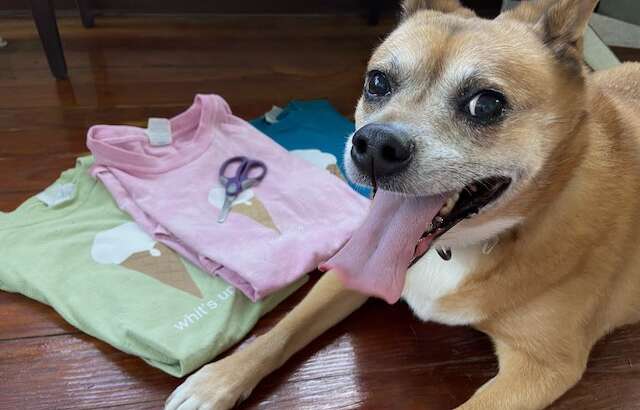
- Braided Dog Toy: All you need for this DIY is an old T-shirt and a pair of scissors. If you want to make your toy multi-colored, use a couple of different shirts. The longer the shirt, the longer this toy will be.
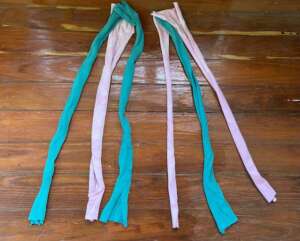
- First, cut off the sleeves and hems from your shirt. Then, cut three evenly spaced strips, starting from the bottom of the shirt. The size of these strips will depend on how big your shirt is. You can just eyeball this!
- Braid these strips together. To make the braiding a little easier, you can tape the ends of the fabric strips to a table or floor so they don’t move around during braiding. If you want to make the braid more durable for a bigger or more playful pup, you can layer a couple of extra fabric strips from another cut-up T-shirt on top of your initial three strips.

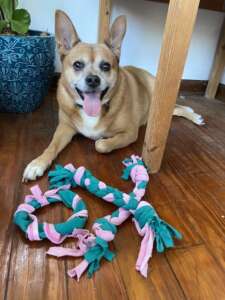
- Knot both the bottom and top of the braid and this DIY is all complete! If you want to make the end of the knots more decorative, you can cut slits along the extra fabric to give it a fringed look.
- Tip: If you want to make this DIY more durable and/or bigger, you can make three of these braided dog toys and then braid those together.
 Donut Dog Toy: For this DIY, you will use the cut off sleeve and hem from a T-shirt. You could also use a sock with the toes cut off. I just used the sleeve from the shirt I cut up for the braided dog toy!
- Simply roll the sock into itself until it resembles a donut. If you’re familiar with making sock buns, it’s the same type of roll!
- After you have your donut, just wrap the hem around the donut to strengthen the fabric and then knot the ends together.
- Knotted Cat Toy: For this DIY, you just need a T-shirt and scissors (and a ruler if you want to make these a uniform size). If you want to make some multi-colored knotted toys, cut up shirts in your desired colors.
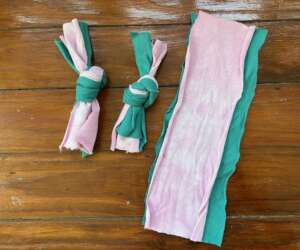
- First, cut the sleeves and hem off the T-shirt(s) and then cut the T-shirt apart along the seams so the front and back of the shirt are separate halves.
- Next, cut the halves of the shirt into rectangles. You can make these smaller or bigger depending on the size of your cat. For my toy tester Jack, I simply eyeballed the rectangles from the two shirts I’d already cut up for my dog toys. Once I got a size I liked, I used it as a template for all my rectangles. Tip: Depending on the size of the shirt, you can even get a rectangle or two out of the sleeves when cut open.
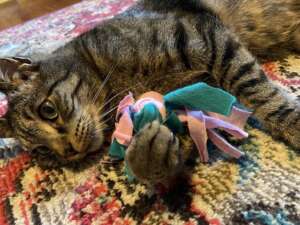 Just knot as many of these rectangles together as you’d like and you have a knotted cat toy! For mine, I only used two rectangles since the shirt I used was a thicker material. To give the ends a fringed look, I cut them like I did with my braided dog toy. Jack loves batting these around and the fringe really catches his attention! (Nala also loves stealing them from him and chewing on them, but don’t tell Jack!)
- Cat Cave: This is the easiest DIY in this list. All you need is a box and a T-shirt! Pick a cardboard box that’s the right size for your cat (or pup, if they like to hide!) and a T-shirt that can fit over it.
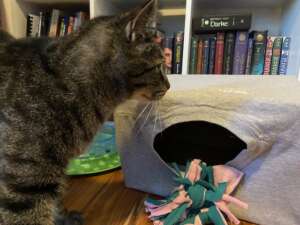
- Cut the flaps of the box off or simply fold them inside.
- Then, just pop the T-shirt over the box with the neck of the shirt on the open part of the box. If you used a big enough shirt to leave excess fabric on one end, simply roll it up and knot it off.
- If you want, you can place a pillow, bed, or some extra T-shirts in the bottom of the box to make it extra cozy for your fur baby. Jack loves cuddling in my clothing so this keeps him content (and out of my laundry basket!)